
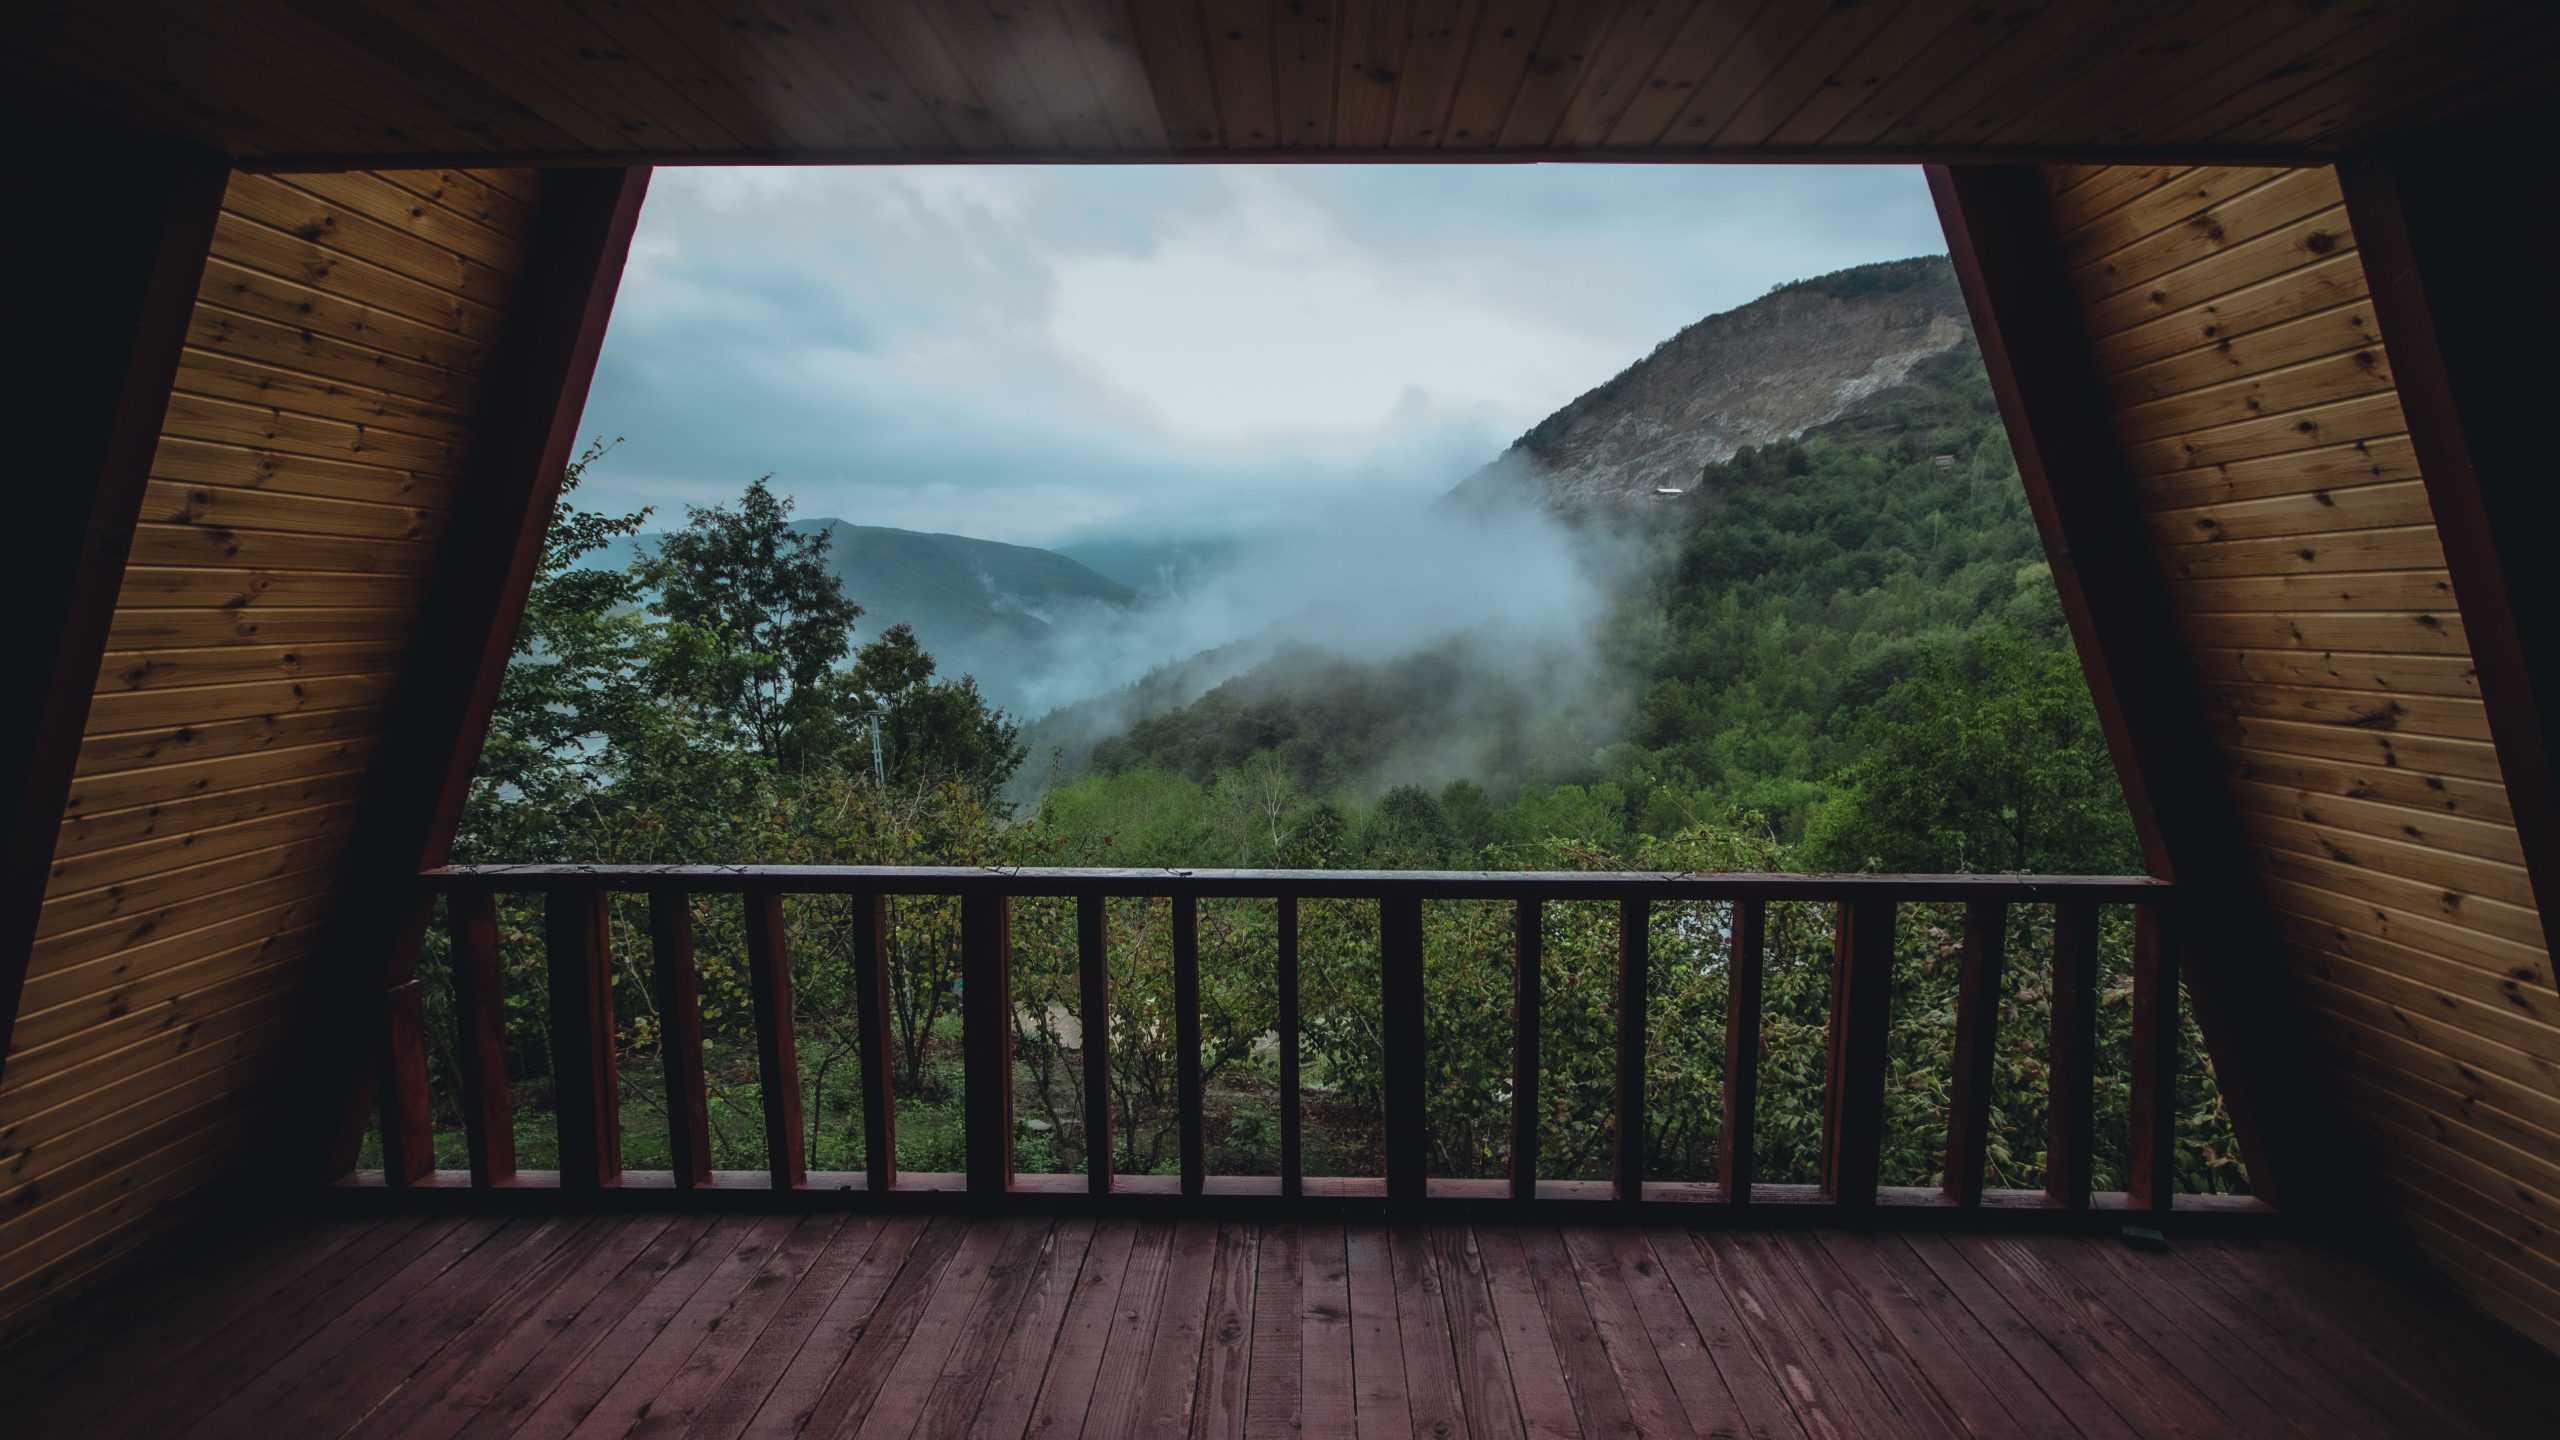
At an adventure lodge or remote cabin, the best outdoor living area is not simply an indoor room moved outside. It is a piece of the journey: the place where wet boots are left to dry, a map is unfolded, dinner takes longer than planned, and the last light is watched without a screen.
That makes the design brief more demanding than choosing a table and a few chairs. The space has to cope with mud, rain, snow, smoke, gear, uneven ground, limited deliveries, wildlife, and long periods when nobody is there. Materials also need to age without making the setting feel overbuilt. In that context, composite fencing may be useful where a durable boundary is genuinely needed, but the boundary should support the site plan rather than turn a wilderness outlook into a suburban enclosure.
This guide treats the outdoor area as infrastructure for adventure. It covers how to divide activities, route people and gear, handle fire and weather, protect the night sky, and make the experience usable for more guests without flattening the character of the landscape.
Table of Contents
- Start with the site, not the furniture
- Design the arrival sequence
- Build outdoor rooms around real behavior
- Design for weather, smoke, and wet gear
- Make access part of the atmosphere
- Keep the night dark on purpose
- Choose materials for remote maintenance
- A practical planning sequence
- Frequently Asked Questions
Start with the site, not the furniture
Before drawing a deck, record what the land already does well. A rocky outcrop may be the natural sunset seat. A stand of trees may provide wind protection. A shallow dip may collect meltwater, while a broad clearing may be the safest location for a gathering area but the worst place for a fire.
A useful site survey should note:
- Morning and evening sun, including seasonal changes in shade.
- Prevailing wind direction and the places where smoke will travel.
- Natural drainage, snow sliding from roofs, and likely icing points.
- Views worth preserving and views that need screening for privacy or safety.
- The shortest practical route between the cabin, parking or drop-off point, woodshed, and outdoor room.
- Existing trees, roots, rocks, and habitat that should remain undisturbed.
The first design decision is often subtraction. If the forest already supplies shade, do not add a roof simply because every patio plan includes one. If guests arrive with headlamps, a line of bright path lights may be less useful than clear wayfinding and a few carefully placed low-level fixtures.
Design the arrival sequence
Remote accommodation has a strong threshold experience. Guests may arrive after a long drive, a boat transfer, or a hike carrying food and equipment. The route from arrival point to cabin should explain the site before anyone reads a sign.
Plan that route as a sequence of small tasks:
- Unload. Provide a stable place for bags and coolers that does not block the main path.
- Orient. Let guests see the cabin entrance, fire area, and the direction of the view without crossing a cluttered service zone.
- Transition. Give wet coats, muddy boots, and technical gear somewhere to pause before they enter the living space.
- Settle. Make the first comfortable seat visible and easy to reach.
This is also where a fence, screen, or gate can earn its place. It might keep dogs away from a steep edge, separate a wood store from the social area, or stop guests wandering into a service yard. It should not be added merely to make the outdoor room look finished. In a remote setting, every extra edge catches snow, collects leaves, and eventually becomes a maintenance instruction.
Build outdoor rooms around real behavior
One oversized platform rarely serves every activity well. People eating breakfast want a different relationship to the view than people tending a fire. Someone repairing a boot needs a durable work surface, while someone reading wants shade and a backrest.
Most adventure-lodge outdoor areas benefit from four overlapping zones:
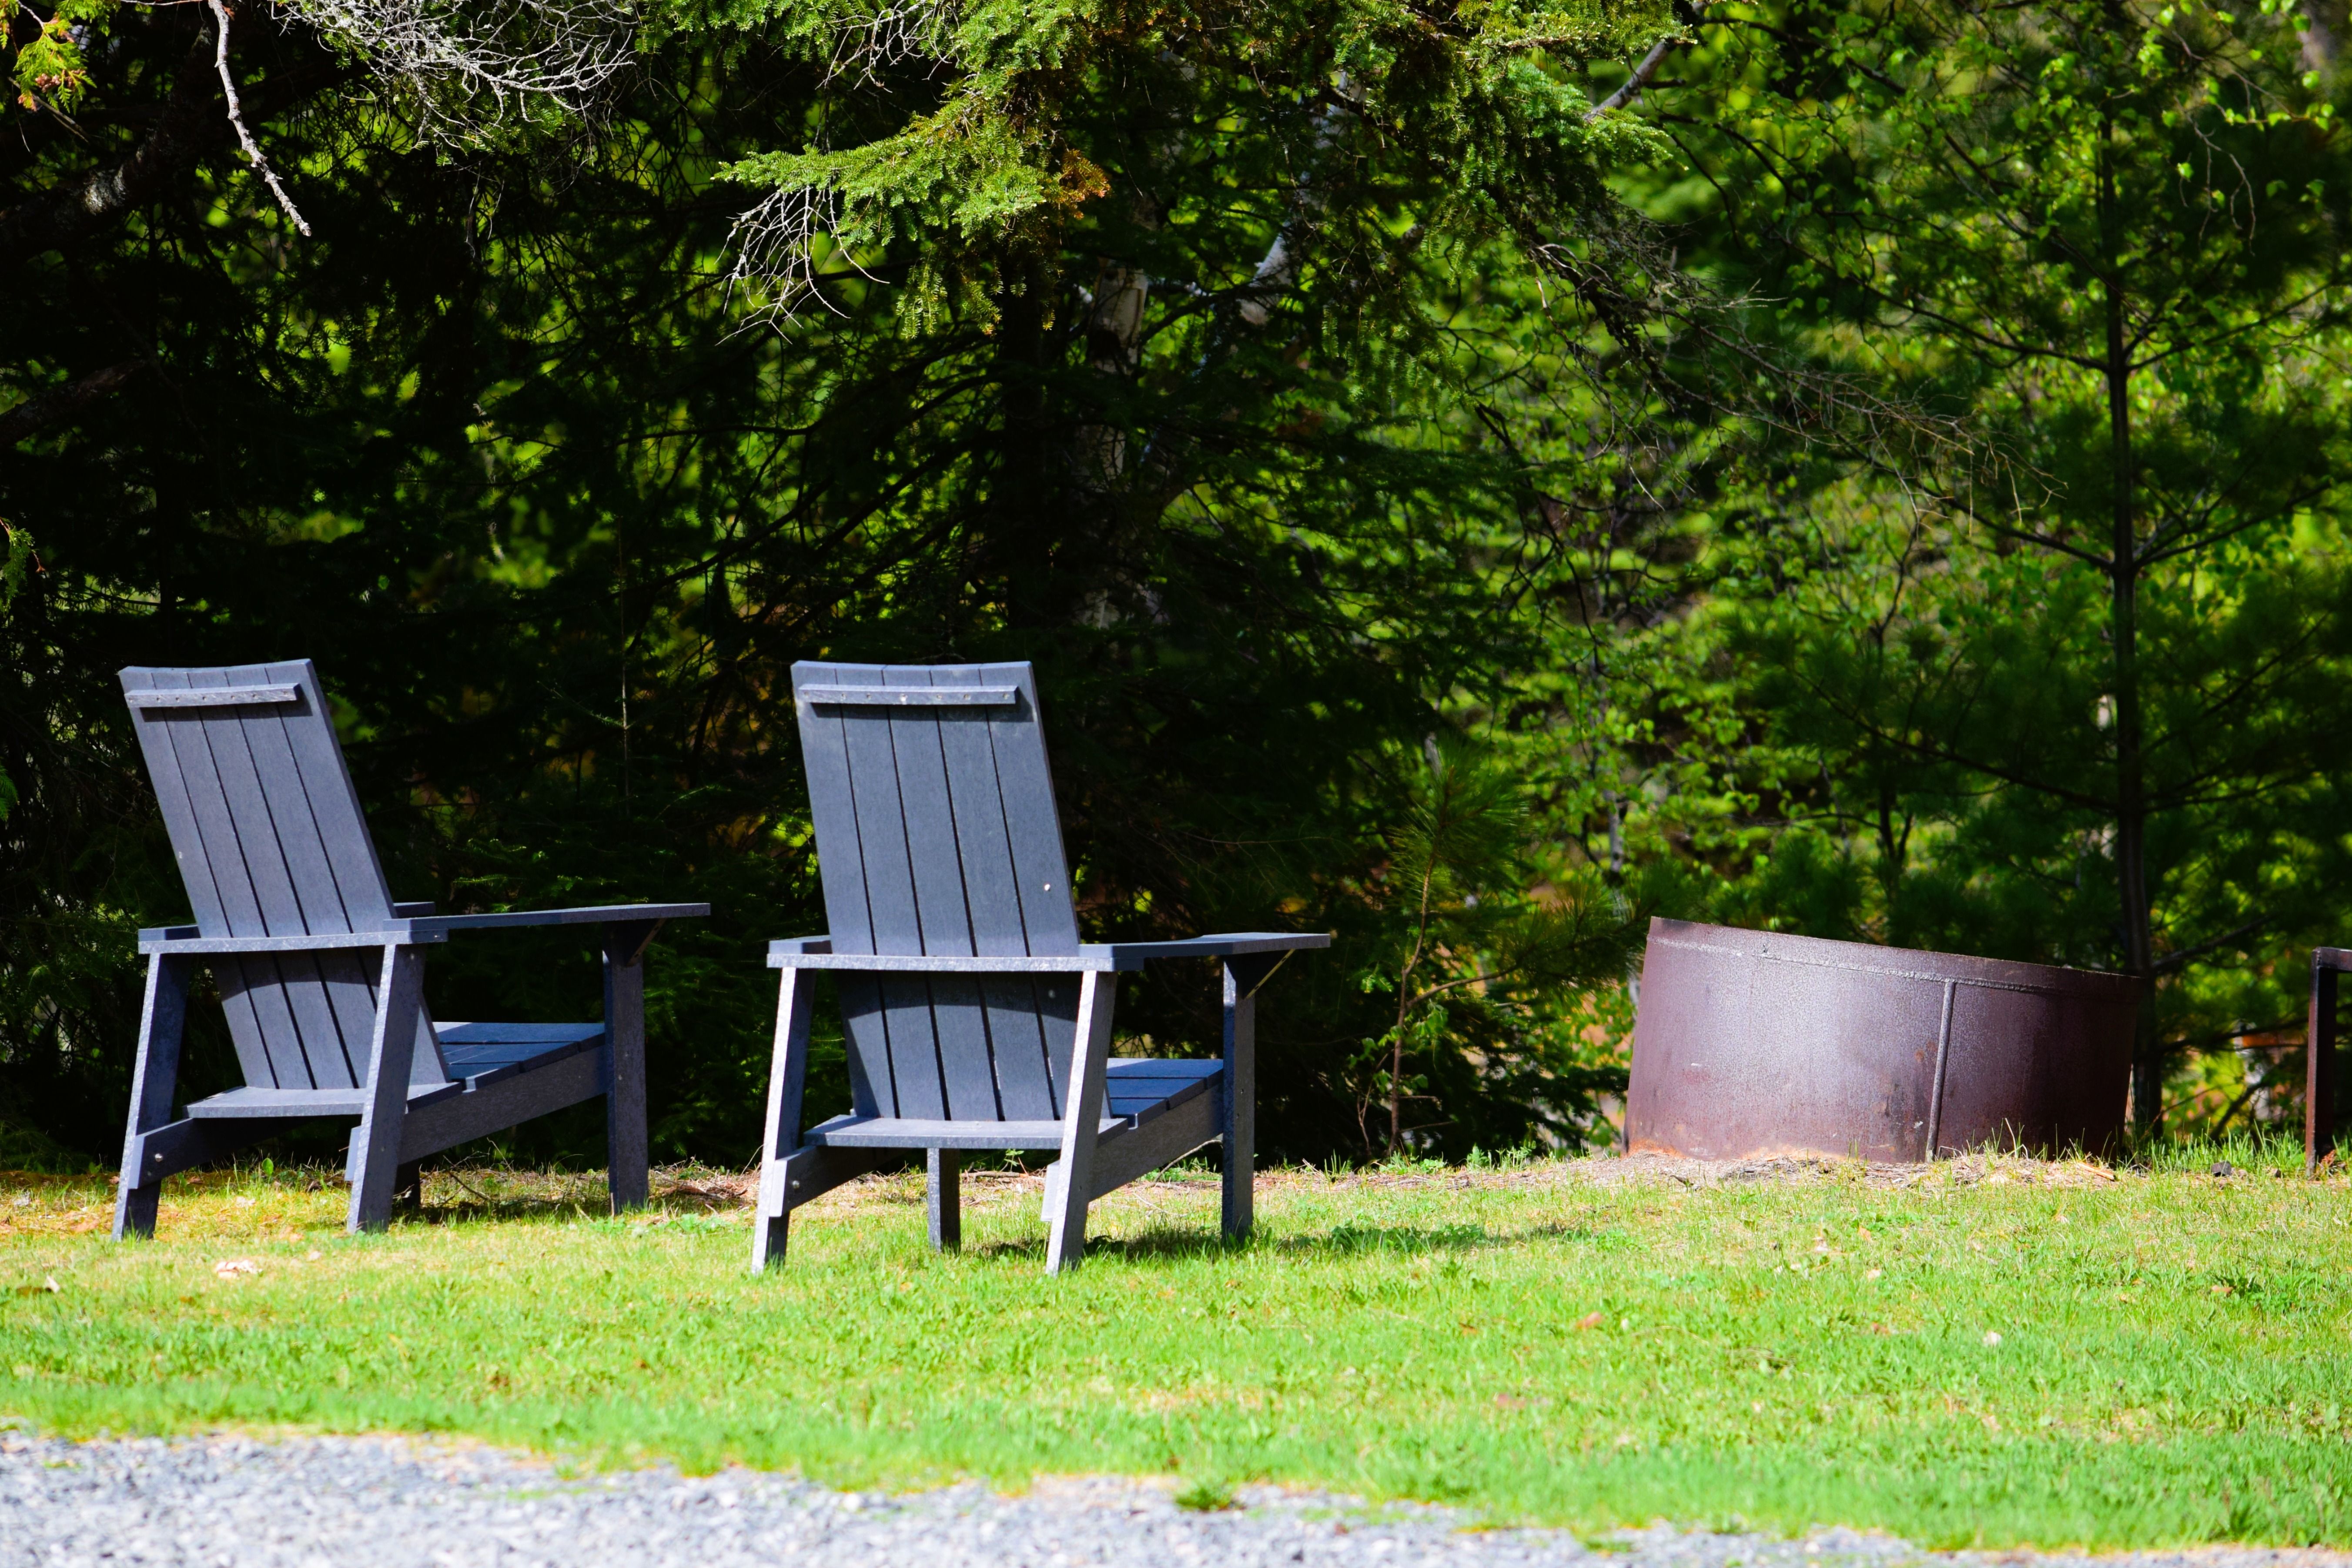
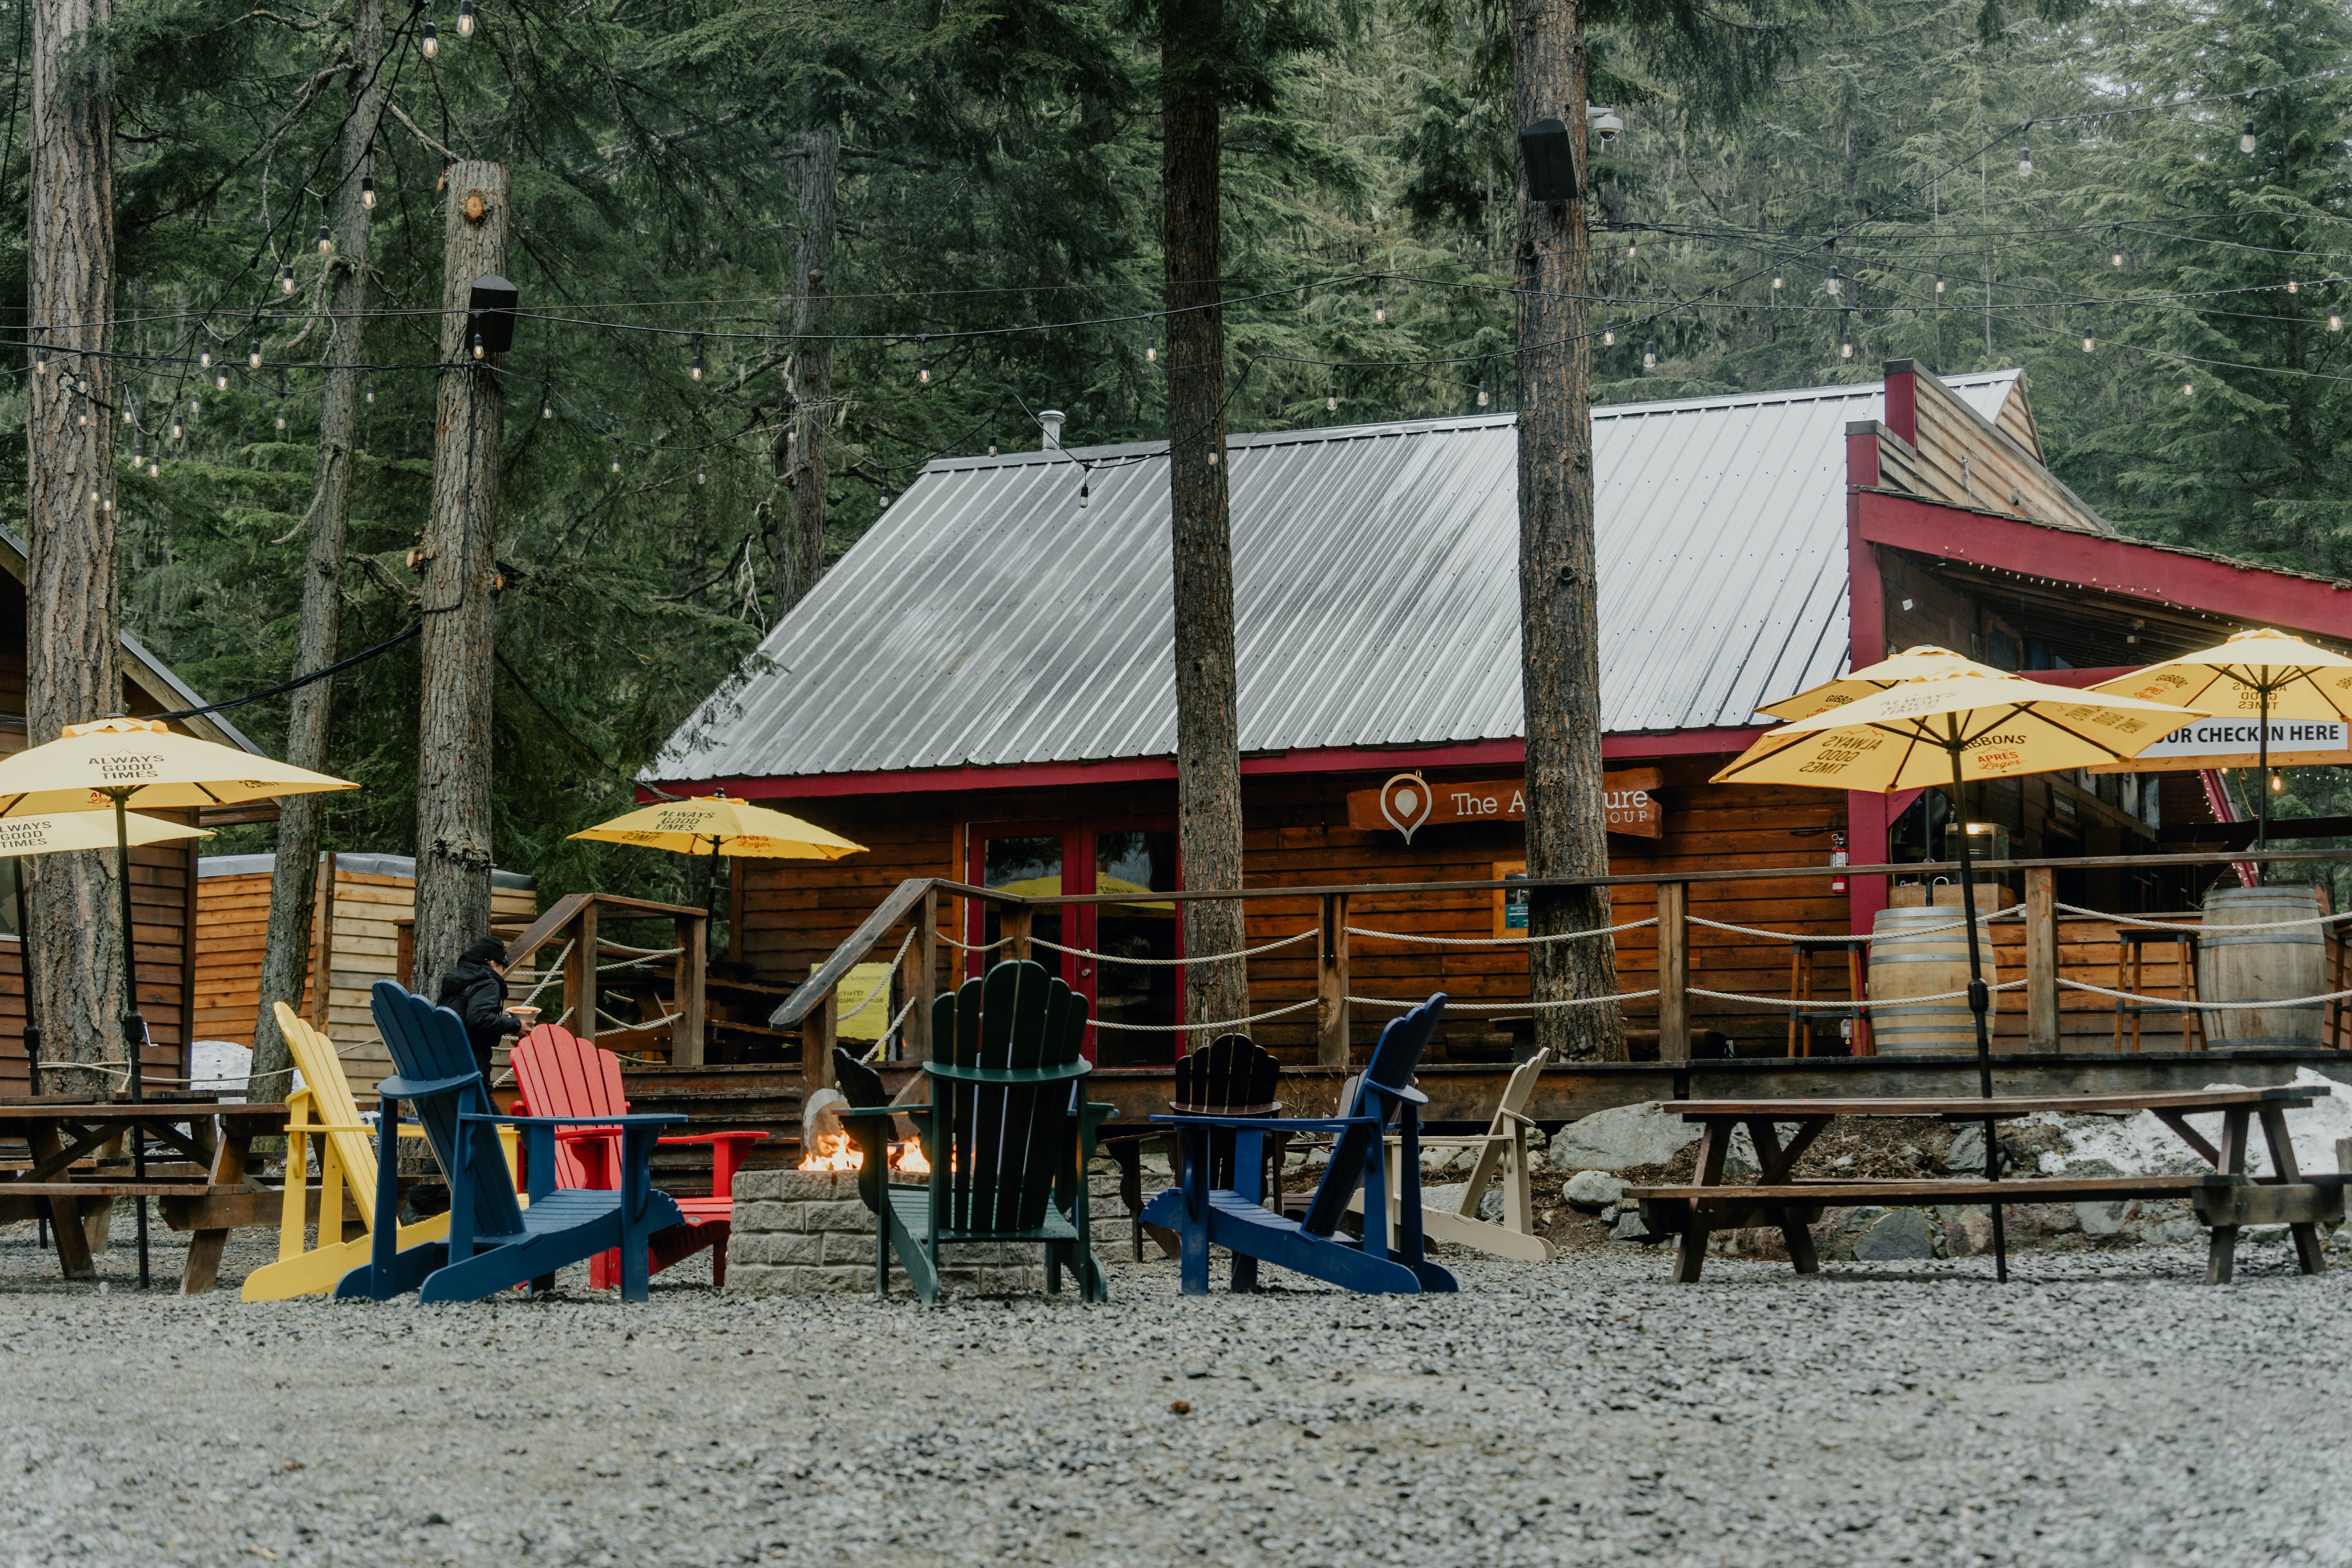
- The social hearth: a fire pit or gathering circle, positioned so smoke can move away from doors and seating.
- The dining platform: close enough to the kitchen for carrying food, but not so close that cooking traffic cuts through conversations.
- The quiet edge: a pair of chairs or a bench oriented toward water, forest, mountain, or sky.
- The working edge: a surface for drying, cleaning, sorting, charging, or repairing equipment.
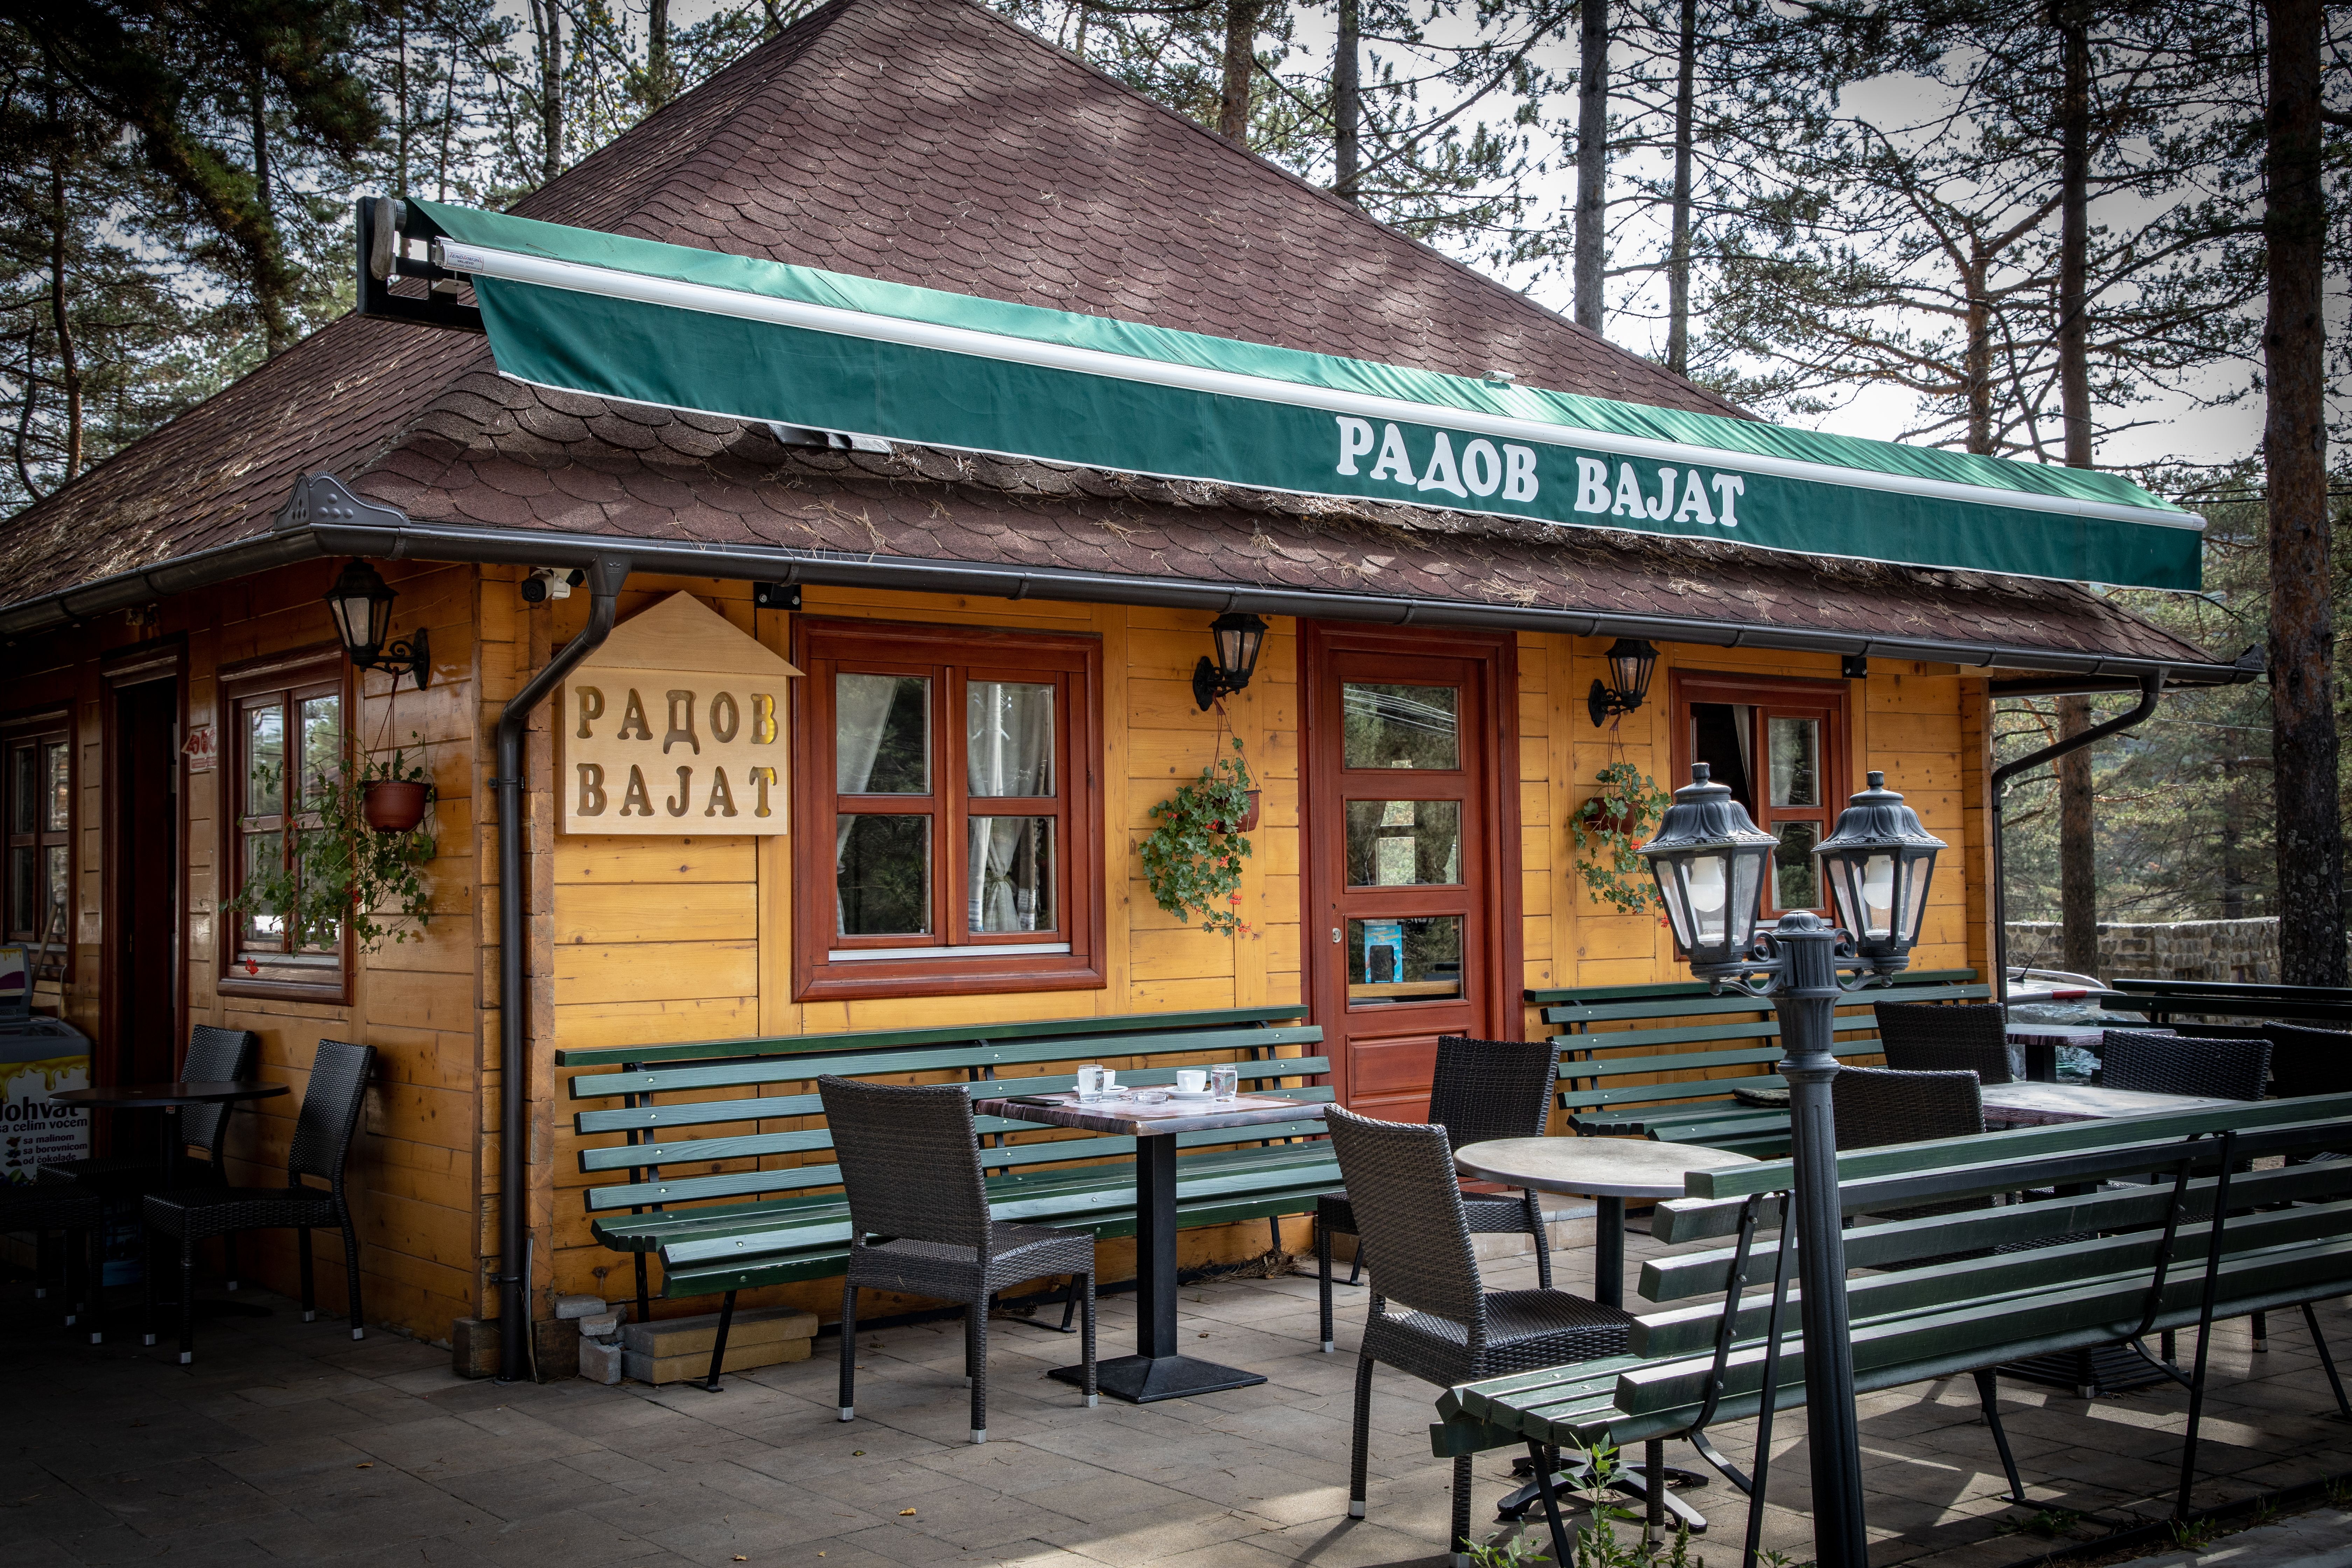
These zones do not need four separate structures. A deck can hold dining and quiet seating; a gravel apron can connect the fire area and gear store. The important thing is to avoid conflicts. A guest carrying a pot should not have to cross the fire circle. A person using a mobility aid should not have to take the scenic route around a planter to reach the best seat.
Design for weather, smoke, and wet gear
Weather is not an inconvenience to hide from the plan. It determines whether an outdoor room will be used in the first place. In cool or wet climates, a narrow covered threshold can be more valuable than a large open deck because it gives people somewhere to pause between inside and out.
Useful weather moves include:
- Place a roof or canopy over the door-side seating, where people actually wait and remove layers.
- Use a generous overhang above doors and gear areas, with a clear drainage path below.
- Keep firewood off the ground and close enough to carry without crossing the seating circle.
- Specify outdoor fabrics that can dry quickly, and make cushions removable rather than permanently upholstered.
- Use windbreaks selectively. A solid screen can create turbulence at its edges and trap smoke; planted or slatted screens allow some air movement.
Fire deserves its own layout, not just a ring placed in the leftover space. Check local rules, maintain the required separation from buildings and combustible vegetation, and give the fire area a stable approach. Place extinguishing water or equipment where it can be reached without stepping through the gathering circle.
Make access part of the atmosphere
Accessibility does not require a remote cabin to look institutional. It requires designers to be precise about surfaces, slopes, clearances, and the way features connect. The U.S. Forest Service Outdoor Recreation Accessibility Guidelines are a useful reference even for private projects because they address outdoor routes, picnic areas, benches, fire rings, and other constructed features while recognizing the character of natural settings.
The numbers below are practical checkpoints, not a substitute for local regulations or a site-specific professional review.
| Feature | Reference dimension | Design implication |
|---|---|---|
| Outdoor recreation access route | At least 36 inches clear width | Keep the main cabin-to-seating route free of furniture, wood piles, and planting overhangs. |
| Wheelchair seating space at a table | At least 30 by 48 inches clear floor space | Leave a real approach space rather than placing the table against a rail. |
| Picnic-table knee clearance | At least 27 inches high, 30 inches wide, and 19 inches deep | Choose table legs and supports that do not turn the accessible place into a token end position. |
| Bench seat height | 17 to 19 inches above the ground | Use a height that supports transfers and comfortable sitting for a range of guests. |
| Warm outdoor lighting | About 2700 Kelvin; 2200 Kelvin or amber for sensitive settings | Specify color temperature as well as fixture style when protecting dark adaptation. |
Source note: dimensions are drawn from the U.S. Forest Service Outdoor Recreation Accessibility Guidelines pocket guide. Lighting guidance is from the National Park Service’s Outdoor Lighting Principles.
Do not hide the most attractive seat behind a “fully accessible” label while leaving the route to it muddy or steep. Instead, make at least one comfortable route intentional from the start, and provide enough maneuvering room for people to use the space without asking others to move chairs.
Keep the night dark on purpose
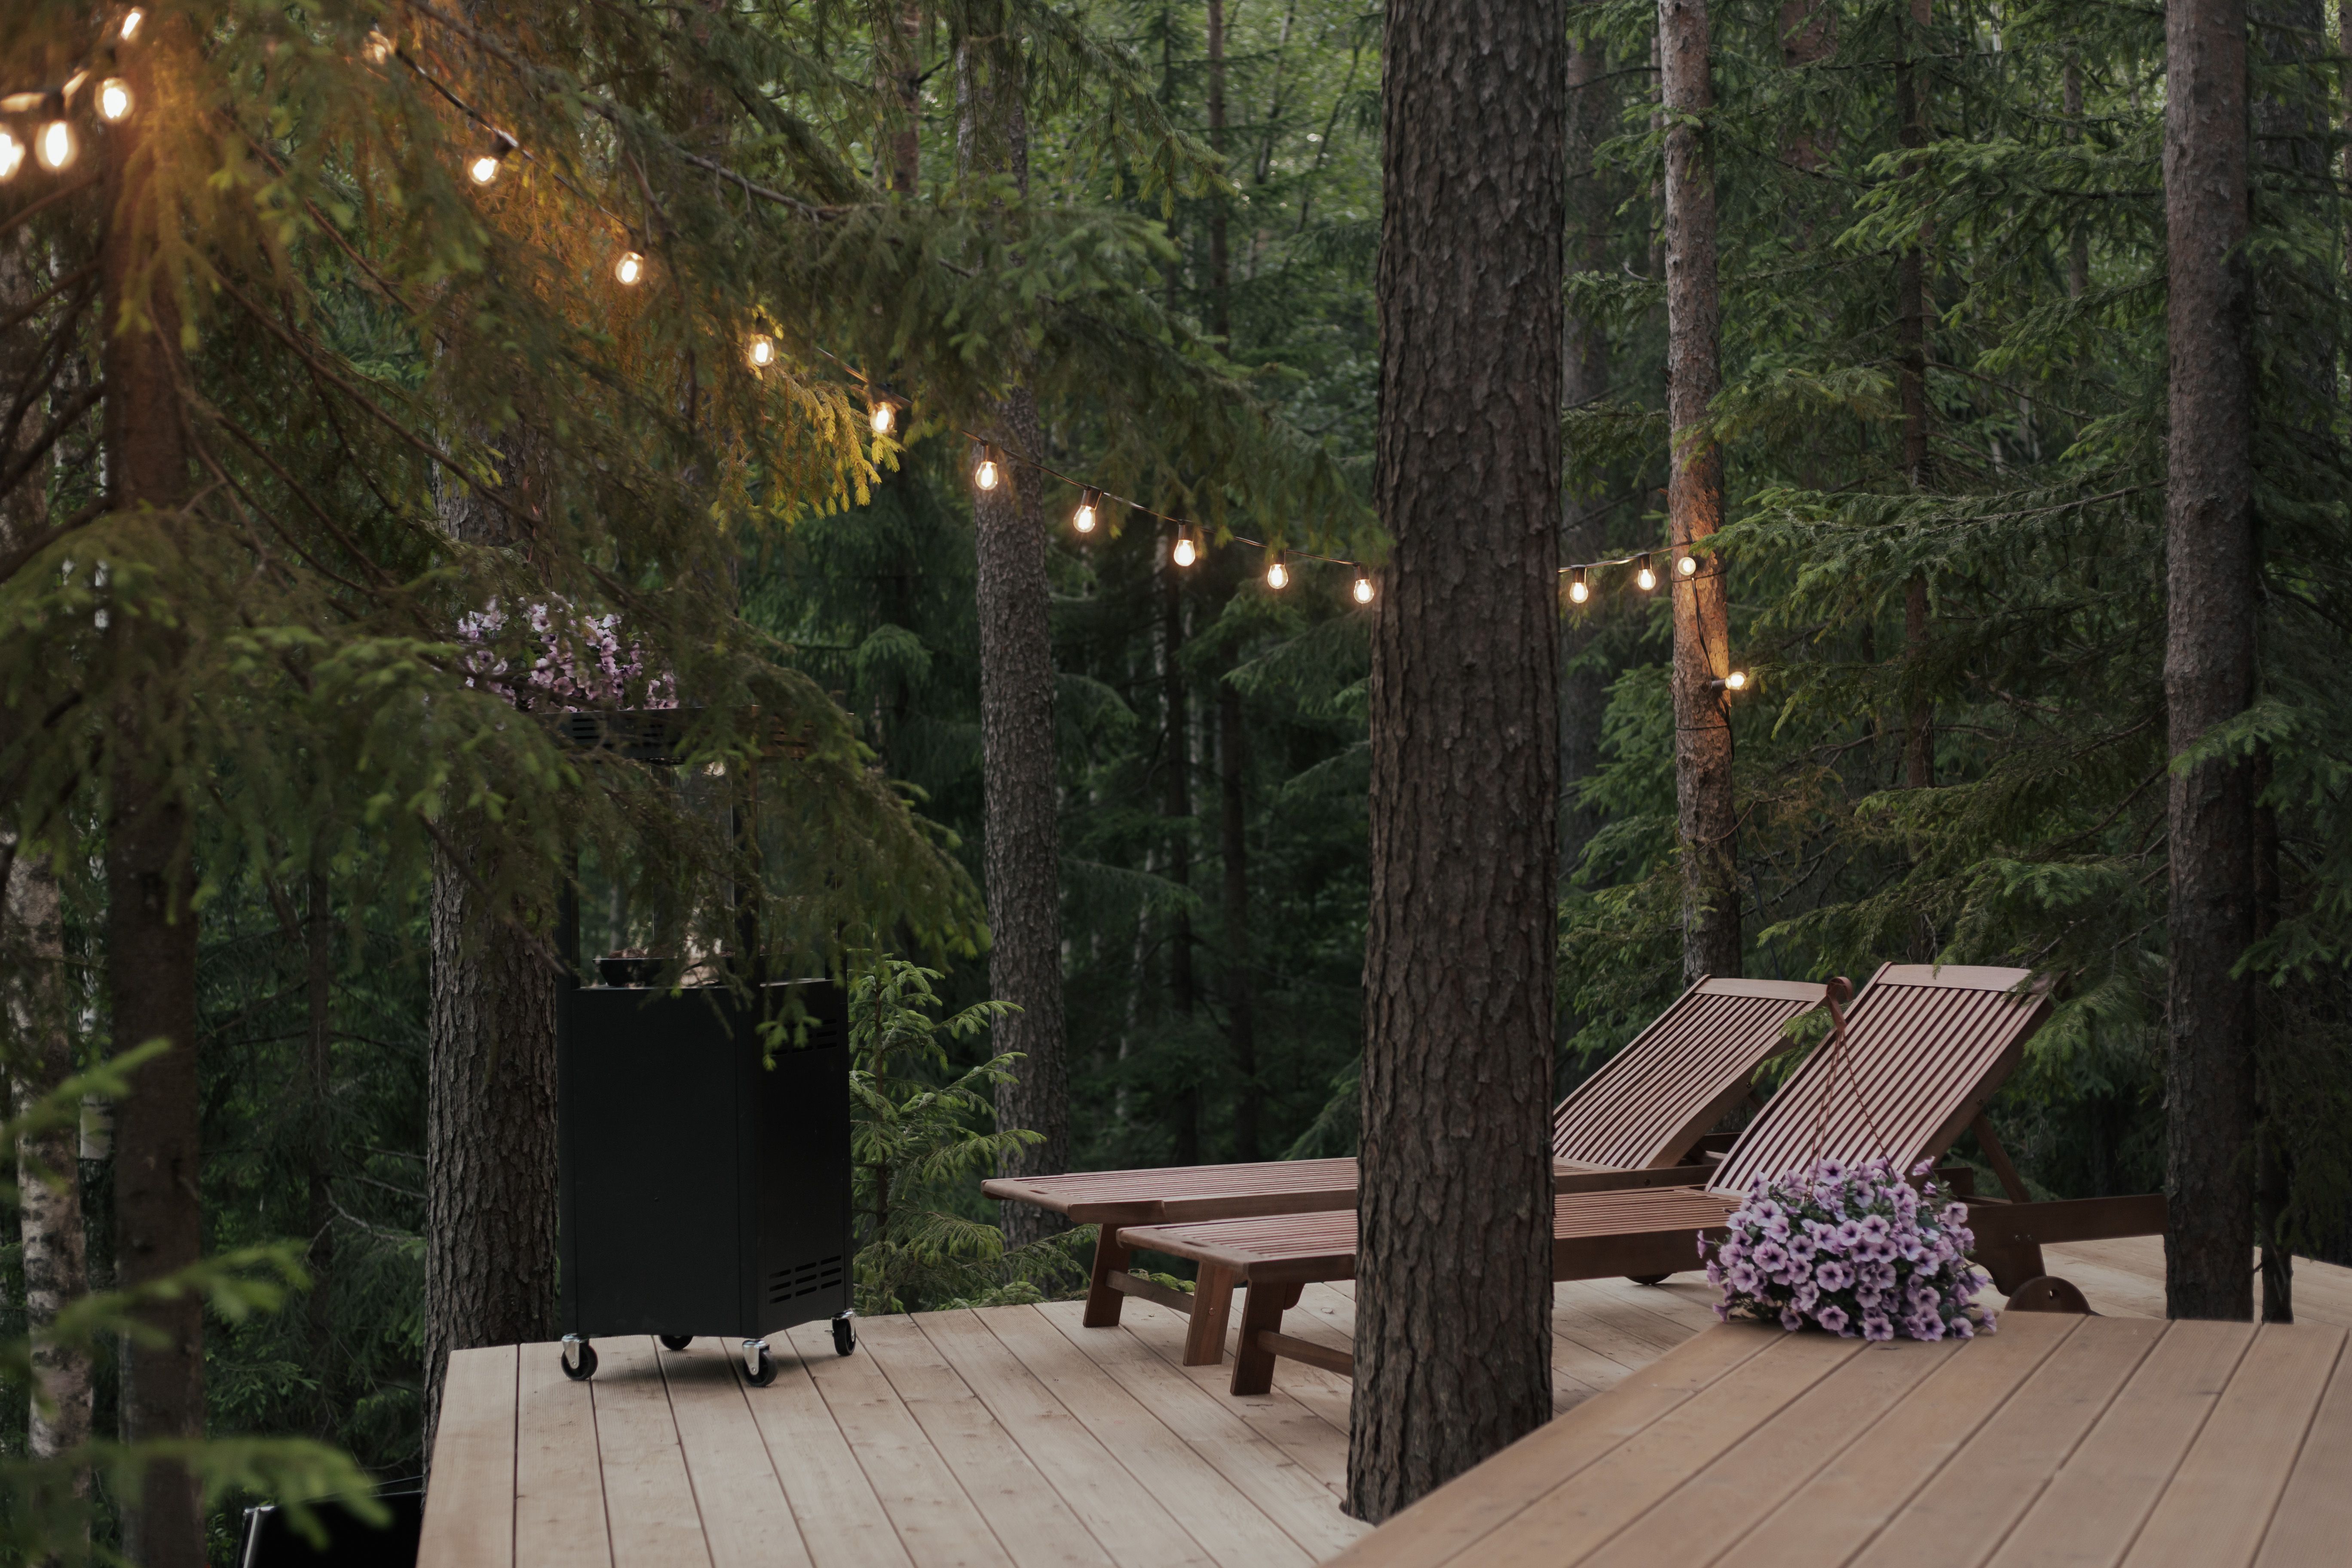
In a remote cabin, darkness is an amenity. It is also part of the ecological setting. The National Park Service recommends asking whether a light is necessary before selecting one, then lighting only the task area, using fully shielded fixtures, controls, the minimum useful output, and warm-color LEDs.
The practical lighting plan can be modest:
- Use reflected or low-level markers where they are enough for orientation.
- Put entry and service lights on motion sensors or timers rather than leaving them on all night.
- Keep fixtures below eye level where possible and point them downward.
- Light steps, edges, and door hardware, not the whole forest-facing deck.
- Give guests a way to turn off decorative lighting completely for stargazing.
More light is not automatically safer. Glare can make steps and uneven ground harder to read, while a bright fixture can destroy a guest’s dark adaptation just when they are trying to see beyond the deck. The National Park Service guidance on night skies also explains why artificial light affects wildlife and why dark skies are part of the visitor experience. I would treat that as a design opportunity, not a restriction: a cabin that lets people see the Milky Way needs less decorative spectacle, not more.
Choose materials for remote maintenance
Material choice in a remote project is a logistics decision. Ask how a component will be repaired when the nearest supplier is several hours away, how it behaves when wet, and whether a replacement can be carried by the same vehicle that delivered the original.
Prioritize:
- Fast-draining surfaces at doors, fire areas, and gear stations.
- Hardware that can be inspected and replaced without dismantling the whole deck.
- Edges and corners that can be seen in low light and will not become trip hazards.
- Furniture heavy enough not to blow away, but movable enough to clear snow and clean underneath.
- Finishes that can weather honestly instead of requiring a yearly cosmetic rescue.
A rustic appearance is not the same as low maintenance. Rough timber may fit the cabin visually while demanding more inspection, cleaning, or refinishing than a carefully selected modern material. Conversely, a highly uniform manufactured surface can look out of place. I would spend the budget on the parts guests touch and the parts water reaches first: handrails, steps, thresholds, drainage, seating surfaces, and the connection between deck and ground.
A practical planning sequence
For a new lodge or cabin renovation, work in this order:
- Map the forces. Record sun, wind, water, snow, views, arrival routes, and fire constraints.
- List the behaviors. Include eating, resting, drying gear, cooking, stargazing, socializing, and emergency movement.
- Place the connections. Draw routes between cabin, toilets, storage, fire, dining, and the best view before drawing furniture.
- Reserve one genuinely usable route. Check surface firmness, width, slope, turning space, and drainage.
- Build a lighting hierarchy. Start with essential tasks, then decide whether anything decorative is still needed.
- Choose durable details last. Once the plan is right, specify materials that can tolerate the site and the maintenance reality.
The result should feel less like a furnished platform and more like a small, legible landscape. Guests should understand where to sit, where to put wet gear, how to reach the fire, and where the view begins without a forest of signs or barriers telling them what to do.
Frequently Asked Questions
An outdoor living area succeeds when it makes the difficult parts of remote living feel natural: wet gear has somewhere to go, the fire does not dominate every conversation, the route is clear after dark, and the landscape remains the main attraction. Design those conditions first, and the furniture, finishes, and decorative details will have a much easier job.